Embarking on a hiking adventure often means carrying a substantial amount of gear. A hiking trailer can alleviate the burden, allowing you to explore further and more comfortably. Building your own hiking trailer is a rewarding project that allows for customization to perfectly suit your needs and budget. This guide provides a step-by-step approach, covering everything from planning and material selection to assembly and final touches, ensuring a safe and enjoyable trail experience.
Planning and Design
Before diving into construction, careful planning is crucial. Consider the type of terrain you’ll encounter, the amount of gear you need to carry, and your budget.
Key Considerations for Your Hiking Trailer Design:
- Weight Capacity: Determine the maximum weight the trailer needs to handle.
- Tire Size: Choose tires appropriate for the terrain – larger tires handle rougher trails better.
- Frame Material: Aluminum is lightweight and rust-resistant, while steel is more durable but heavier.
- Suspension: Consider suspension for smoother rides, especially on uneven terrain.
- Storage: Plan the layout and size of storage compartments for optimal organization.
Materials and Tools
Gathering the necessary materials and tools is the next step. This ensures a smooth and efficient building process.
Essential Materials and Tools:
| Material | Purpose |
|---|---|
| Frame Material (Aluminum or Steel) | The structural foundation of the trailer. |
| Wheels and Tires | Provide mobility and traction. |
| Axle and Bearings | Connect the wheels to the frame and allow for smooth rotation. |
| Hitch and Coupler | Connect the trailer to your hiking apparatus. |
| Fasteners (Bolts, Nuts, Screws) | Securely join the components together. |
| Plywood or Sheet Metal (for storage box) | Creates enclosed storage space. |
| Welder (if using steel frame) | Joins steel frame components. |
| Drill | Creates holes for fasteners. |
| Saw | Cuts materials to the required size. |
| Measuring Tape and Level | Ensures accurate measurements and alignment. |
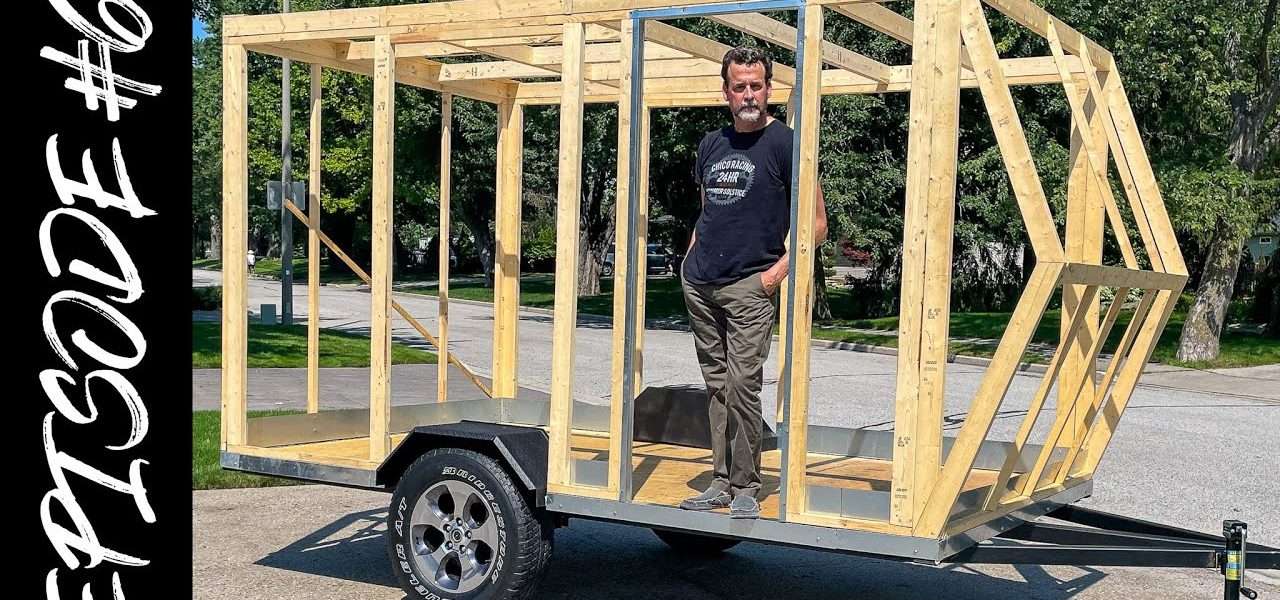
Construction and Assembly
This stage involves putting all the pieces together according to your design. Precision and attention to detail are crucial for a safe and functional trailer.
Fact: A well-built hiking trailer can last for many years with proper maintenance.
Step-by-Step Assembly Guide:
- Build the Frame: Weld or bolt together the frame components, ensuring squareness and stability.
- Attach the Axle and Wheels: Secure the axle to the frame and mount the wheels, ensuring proper alignment.
- Install the Hitch: Attach the hitch to the frame, making sure it is securely fastened.
- Construct the Storage Box: Build the storage box using plywood or sheet metal, ensuring it is waterproof and durable.
- Mount the Storage Box: Securely attach the storage box to the frame.
- Add Finishing Touches: Paint or coat the trailer to protect it from the elements and add any desired features.
FAQ ౼ Frequently Asked Questions
Here are some common questions about building a hiking trailer:
- Q: What is the best material for the frame?
- A: Aluminum is lightweight and rust-resistant, making it a good choice for weight-conscious hikers. Steel is stronger and more durable, but heavier.
- Q: How much weight can a hiking trailer carry?
- A: It depends on the design and materials used. Refer to the manufacturer’s specifications for weight limits.
- Q: How do I ensure the trailer is stable?
- A: Proper weight distribution, a low center of gravity, and appropriate tire pressure are key to stability.
- Q: Where can I find plans for a hiking trailer?
- A: Online forums, DIY websites, and some hardware stores offer plans or design ideas.
Building your own hiking trailer is an investment in your outdoor adventures. It allows you to customize the trailer to your specific needs, ensuring a comfortable and enjoyable hiking experience. While the process may seem daunting at first, with careful planning, the right tools, and a step-by-step approach, anyone can create a functional and reliable hiking trailer. Remember to prioritize safety throughout the building process, and always test the trailer thoroughly before embarking on a long hike. The freedom and convenience a hiking trailer provides are well worth the effort.
Safety Considerations
Safety should be paramount throughout the design and construction process. A poorly built trailer can be a hazard to yourself and others on the trail.
Essential Safety Tips:
- Weight Distribution: Ensure weight is evenly distributed to prevent tipping or instability. Place heavier items towards the bottom and center of the trailer.
- Braking: If you anticipate carrying heavy loads or descending steep hills, consider incorporating a braking system into your trailer design.
- Visibility: Add reflective tape or lights to increase visibility, especially when hiking in low-light conditions.
- Hitch Security: Regularly inspect the hitch and coupler to ensure they are securely fastened and free from wear or damage.
- Tire Pressure: Maintain proper tire pressure to optimize performance and prevent blowouts.
Maintenance and Care
Regular maintenance will extend the lifespan of your hiking trailer and ensure its continued reliability. A little preventative care goes a long way.
Fact: Simple maintenance tasks, such as lubricating moving parts, can significantly improve the trailer’s performance.
Maintenance Checklist:
- Inspect Fasteners: Regularly check and tighten all bolts, nuts, and screws to prevent loosening.
- Lubricate Bearings: Grease the wheel bearings periodically to ensure smooth rotation and prevent wear.
- Check Tire Condition: Inspect tires for wear, damage, and proper inflation.
- Clean and Protect: Clean the trailer after each use and apply a protective coating to prevent rust or corrosion.
- Storage: Store the trailer in a dry and sheltered location when not in use.
Advanced Customization Options
Once you’ve mastered the basics, consider adding advanced features to further enhance your hiking trailer.
- Solar Power: Integrate a small solar panel to charge electronic devices on the trail.
- Water Storage: Add a water tank with a dispensing system for convenient access to water.
- Cooking System: Incorporate a small stove or cooking platform for preparing meals.
- Suspension Upgrades: Explore advanced suspension systems for improved ride quality and handling.
FAQ ౼ Continued
Here are some more common questions about building a hiking trailer:
- Q: How do I attach the trailer to my hiking apparatus?
- A: The hitch and coupler will determine the method of attachment. Ensure compatibility and secure connections.
- Q: Can I use recycled materials to build my trailer?
- A: Yes, using recycled materials can be a sustainable option, but ensure they are structurally sound and appropriate for the application.
- Q: How do I waterproof the storage box?
- A: Use sealant on all seams and joints, and consider a waterproof membrane or coating.
- Q: What tools are absolutely essential for this project?
- A: A drill, saw, measuring tape, and appropriate fasteners are essential. A welder is necessary for steel frames.
Building a hiking trailer is a journey of creativity, problem-solving, and craftsmanship. By carefully considering your needs, planning meticulously, and prioritizing safety, you can create a valuable asset for your outdoor adventures. Don’t be afraid to experiment with different designs and features to create a trailer that perfectly suits your unique hiking style. Remember to test your trailer thoroughly and make any necessary adjustments before hitting the trail. With a little patience and dedication, you’ll be rewarded with a custom-built hiking trailer that will enhance your outdoor experiences for years to come. The feeling of accomplishment and the increased freedom on the trail will make all the effort worthwhile. So, gather your materials, grab your tools, and start building your dream hiking trailer today!