Creating miniature kitchen appliances can be a delightful and rewarding hobby. Whether you’re a seasoned dollhouse enthusiast or just looking for a fun crafting project, the possibilities are endless. This guide will walk you through the process of creating realistic miniature appliances using readily available materials and simple techniques. Get ready to transform everyday items into charming miniature versions of your favorite kitchen gadgets!
Gathering Your Supplies
Before you begin, it’s essential to assemble the necessary tools and materials. This will ensure a smooth and enjoyable crafting experience.
- Craft Foam: Provides a lightweight and versatile base for many appliances.
- Cardboard: Ideal for creating sturdy structures and detailed elements.
- Wooden Skewers/Toothpicks: Useful for small details like knobs and handles.
- Metallic Paint: Adds a realistic touch to your miniature appliances.
- Glue Gun: Essential for securely attaching different components.
- Scissors/Craft Knife: For precise cutting and shaping of materials.
- Ruler/Measuring Tape: Ensures accurate dimensions and proportions.
Crafting a Miniature Refrigerator
The refrigerator is a cornerstone of any kitchen, even in miniature. Here’s a step-by-step guide to crafting one.
Building the Frame
The foundation of your mini fridge is a sturdy frame. Precision is key here for a realistic look.
- Cut six pieces of cardboard to form the sides, top, bottom, and back of the refrigerator. Measure carefully to ensure they fit together snugly.
- Glue the cardboard pieces together using a glue gun to create a rectangular box. Allow the glue to dry completely before proceeding.
- Reinforce the corners with small pieces of cardboard for added stability.
Adding Details
Details bring your miniature refrigerator to life. Think about shelves, handles, and a realistic finish.
| Detail | Material | Instructions |
|---|---|---|
| Shelves | Thin Cardboard or Craft Foam | Cut small rectangles and glue them inside the refrigerator at equal intervals. |
| Handle | Wooden Skewer or Wire | Shape the skewer or wire into a handle and glue it to the front of the door. |
| Finish | Metallic Silver Paint | Paint the entire refrigerator with metallic silver paint for a realistic look. Apply multiple coats if necessary. |
Creating a Miniature Stove
Now, let’s move on to crafting a miniature stove. This project offers opportunities for creative detailing.
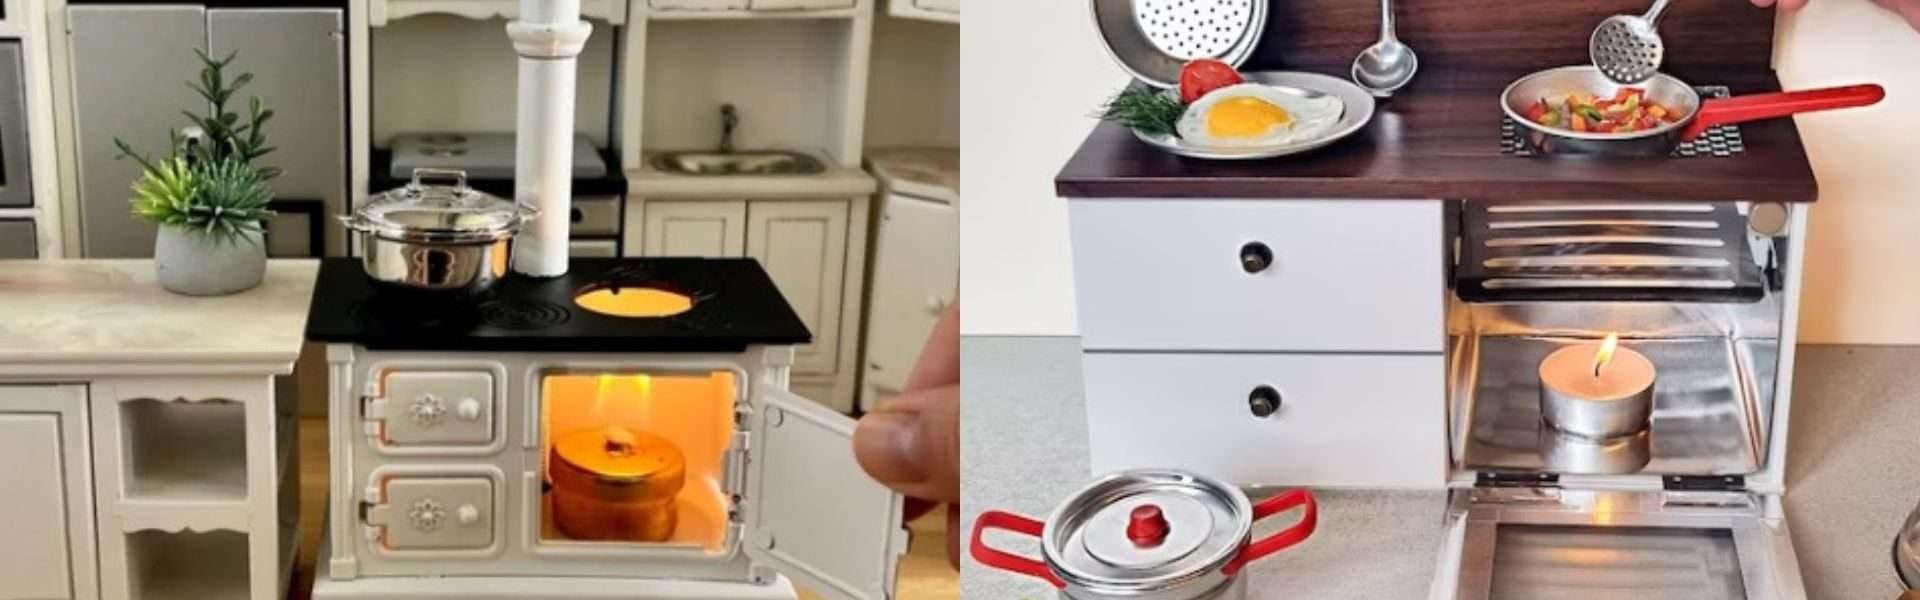
Fact: Miniature stoves often feature removable burners and opening oven doors for added realism.
Constructing the Stove Body
Like the refrigerator, the stove begins with a solid base.
- Cut cardboard pieces for the sides, top, bottom, and back of the stove.
- Glue the pieces together to form a rectangular box, leaving an opening for the oven door.
- Reinforce the corners for stability.
Adding Burners and Knobs
Burners and knobs add functionality (visually!) and realism to your miniature stove.
- Cut small circles from black craft foam to represent the burners.
- Glue the burners to the top of the stove.
- Use small beads or trimmed wooden skewers to create the knobs and glue them to the front of the stove.
FAQ Section
Here are some frequently asked questions about making miniature kitchen appliances.
Q: What is the best glue to use?
A: A glue gun is generally the best option for its quick drying time and strong bond. However, craft glue or super glue can also be used for smaller details.
Q: Can I use different materials?
A: Absolutely! Feel free to experiment with different materials like polymer clay, balsa wood, or even recycled plastic containers.
Q: How can I make my appliances look more realistic?
A: Pay attention to details! Adding small features like hinges, handles, and realistic paint finishes can make a big difference. Also, look at real appliances for inspiration.
Creating miniature kitchen appliances is a fun and imaginative way to express your creativity. By using simple materials and following these guidelines, you can create charming and realistic miniature versions of your favorite kitchen gadgets. Remember to be patient, have fun, and don’t be afraid to experiment with different techniques and materials. With a little practice, you’ll be crafting miniature masterpieces in no time. The joy of seeing your miniature kitchen come to life is incredibly rewarding. So gather your supplies and start building your dream miniature kitchen today!
But the journey doesn’t end with the fridge and stove! Let’s venture further into the realm of Lilliputian gastronomy and conjure up some truly fantastical kitchen creations. Forget the mundane; we’re about to build a miniature marvel of culinary innovation: a self-buttering toaster!
The Self-Buttering Toaster: A Miniature Marvel
Imagine a world where perfectly buttered toast appears with the push of a lever. We’re bringing that dream to (miniature) reality!
Crafting the Toaster Body
Our toaster needs a sleek and stylish shell. Think chrome and curves, even in miniature!
- Start with a small rectangular box made from cardboard. Round the edges slightly for a more modern look.
- Cover the exterior with metallic silver paper or paint. Consider adding thin strips of masking tape before painting to create a “brushed metal” effect.
- Cut two slots in the top for the toast. These should be wide enough to accommodate miniature slices of bread (more on that later!).
The Buttering Mechanism
This is where the magic happens! We’ll need to get creative with our engineering.
| Component | Material | Instructions |
|---|---|---|
| Butter Reservoir | A small, hollow bead or a section of a plastic straw | Attach this to the side of one of the toast slots. It should be positioned so that a small amount of “butter” can be dispensed onto the toast. |
| “Butter” | Yellow polymer clay or beeswax | Mold a tiny amount of yellow clay or beeswax into a stick shape that fits inside the reservoir. A toothpick can be used as a plunger to push the “butter” out. |
| Lever | A toothpick or wire | Attach a small lever to the side of the toaster. When the lever is pushed down, it should activate the toothpick plunger, dispensing a tiny amount of “butter” onto the toast. |
The Toast
No self-buttering toaster is complete without the toast! Time for some miniature baking (sort of).
Tip: Use a slightly darker shade of brown paint around the edges of the toast to create a “toasted” effect.
- Roll out a thin layer of polymer clay in a light tan color.
- Cut out small rectangular shapes to represent slices of bread.
- Bake the clay according to the manufacturer’s instructions.
- Once cooled, paint the “toast” with a slightly darker shade of brown around the edges for a realistic toasted look.
Beyond the Basics: The Miniature Molecular Gastronomy Lab
Feeling adventurous? Let’s leave the realm of traditional appliances behind and create something truly unique: a miniature molecular gastronomy lab! This isn’t about function; it’s about whimsy and imagination.
Imagine tiny beakers filled with vibrant liquids, miniature pipettes, and a scaled-down centrifuge, all designed to create the most outlandish culinary creations imaginable.
Essential Lab Elements:
- Beakers & Test Tubes: Use clear plastic beads or cut sections from clear plastic straws. Fill them with colored water or resin.
- Pipettes: Trimmed-down toothpicks or thin wire can serve as pipettes;
- Centrifuge: A small, circular container (like a bottle cap) attached to a spinning motor from an old toy can be transformed into a miniature centrifuge.
- Bunsen Burner: A small LED light with a translucent orange plastic cone on top can simulate the flame of a Bunsen burner.
FAQ: Miniature Kitchen Appliance Edition ⸺ Advanced Techniques
Time for some more expert advice!
Q: How can I create realistic lighting effects in my miniature appliances?
A: Tiny LED lights are your best friend! They can be easily incorporated into refrigerators, ovens, and even the molecular gastronomy lab to create a warm and inviting glow. Hide the wires carefully for a seamless look.
Q: What’s the best way to create miniature labels for ingredients and appliances?
A: Print tiny labels on adhesive paper using a computer. You can even use online label generators to create custom designs. Be sure to use a font size that’s legible in miniature!
Q: How can I make my miniature appliances interactive?
A: Consider adding small magnets to doors and drawers to create a satisfying “click” when they open and close. You can also use tiny switches to control the LED lights or even activate small motors for moving parts.
From self-buttering toasters to molecular gastronomy labs, the possibilities for miniature kitchen creations are truly endless. Embrace your imagination, experiment with different materials and techniques, and don’t be afraid to push the boundaries of what’s possible. Your miniature kitchen is a blank canvas, waiting to be filled with culinary wonders beyond your wildest dreams. Now go forth and create a world of miniature deliciousness!
